In this Article:
Important:
- Quick Scheduling is available for Instagram, Facebook, TikTok, and LinkedIn
- Quick Scheduling is not available for Pinterest or YouTube Shorts
- When Quick Scheduling Instagram and TikTok posts, posts will default to Notification Publishing
- Quick Schedule can be set up on the web and mobile apps
How Quick Scheduling Works
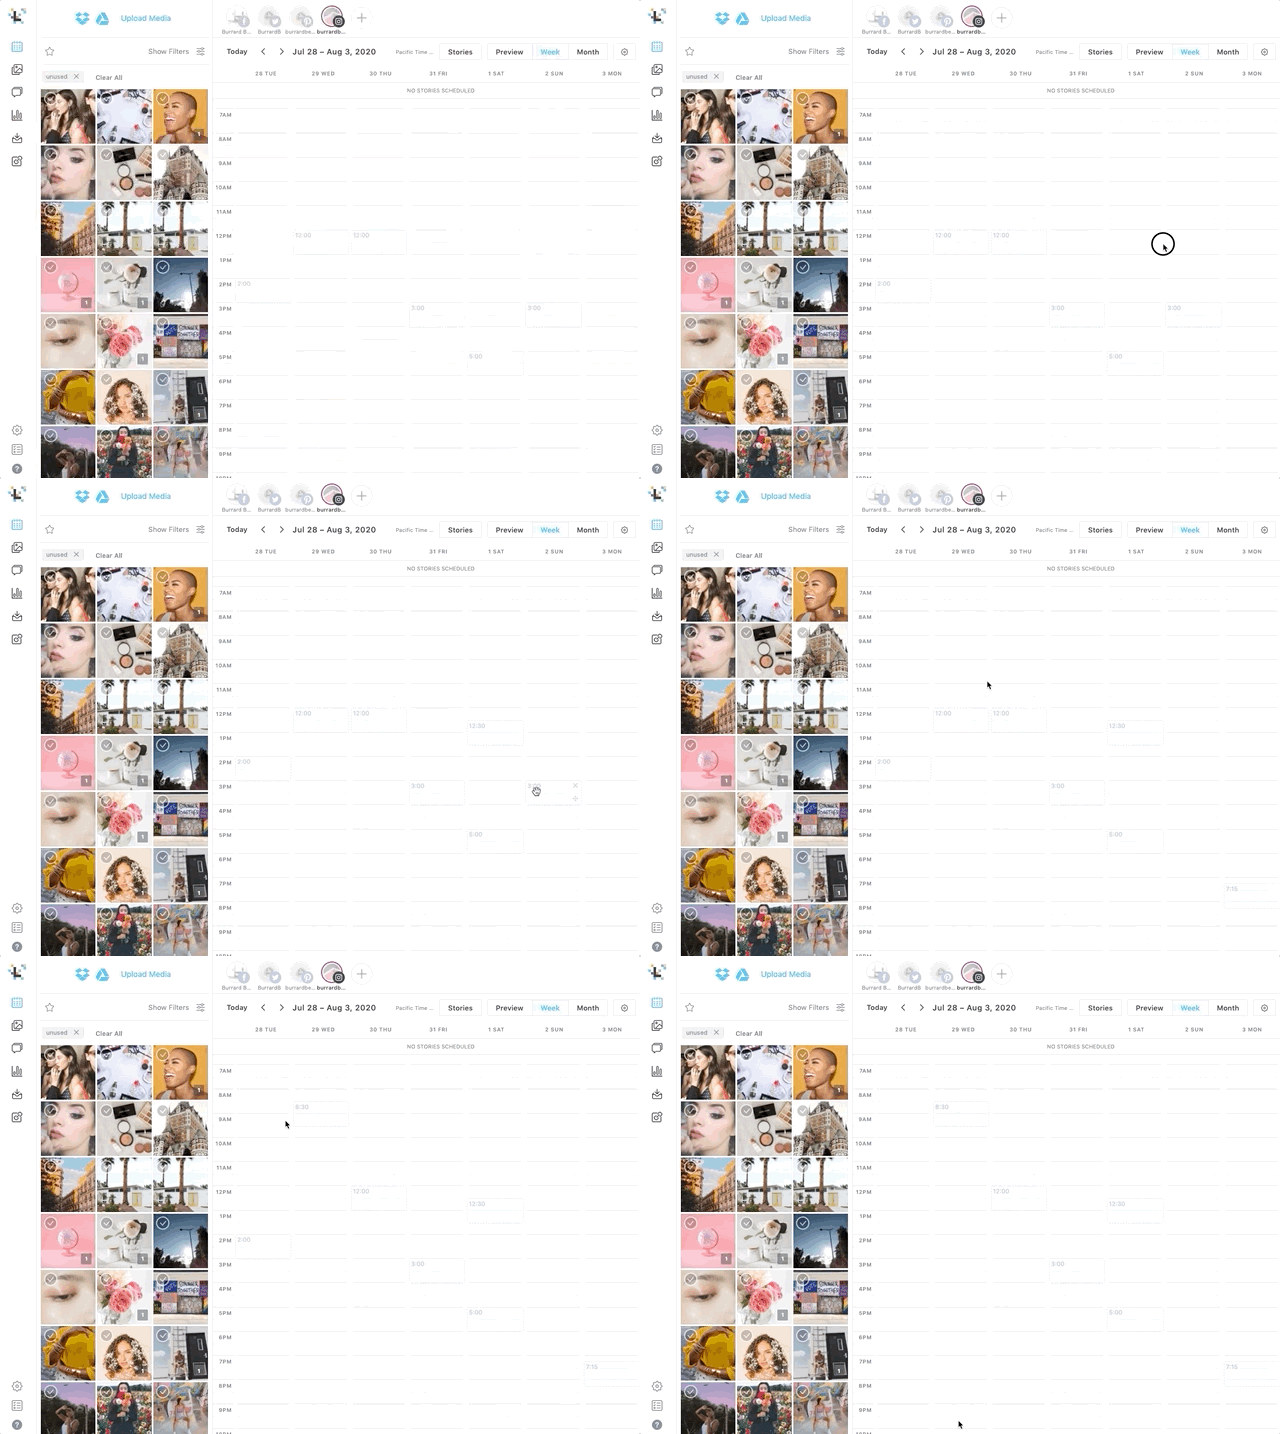
Quick Scheduling lets you create recurring weekly time slots (shown in a grey color on your Calendar) for scheduling your content. Simply drag and drop your media to the top of your calendar to bulk schedule multiple posts at once!
- Only one post can be scheduled in a single time slot
- All Quick Schedule Instagram & TikTok posts will be scheduled for Notification Publishing
- You can manually change them to Auto Publish after scheduling, if enabled
- If you add, remove, or change time slots in your Calendar, updates to the time slots will be reflected in the following weeks
- If you update a time slot that has a scheduled post in it, the scheduled post’s date and time won’t be updated; only the time slot itself will be updated
- You can use your Calendar or Visual Instagram Planner to Quick Schedule your Instagram posts
Creating Your Weekly Schedule
Before you can Quick Schedule your posts, you need to create your weekly schedule.
- In Later on the web, go to your Calendar
- Select the single profile you want to set up Quick Schedule for
- Double-click on any time slot in your Calendar to open the Quick Schedule wizard
Note: The Quick Schedule wizard will only pop up if you don't have any Quick Schedule time slots created. To add, remove, or a change a time slot, see how to change your Quick Schedule time slots. - Click Get Started
- Select the days and times for up to 7 Quick Schedule time slots to start.
- Click Next and Finish
Note: Quick Schedule isn’t available for multi-profile scheduling.
Tip: Choose your Quick Schedule time slots based on your Best Time to Post.
Quick Scheduling Your Posts
Once you’ve created your Quick Schedule, you can start scheduling your posts.
- In your Calendar’s side library, select your media in the order you want them to be scheduled
- Click Quick Schedule at the bottom or drag and drop your media onto the top of your Calendar
- Your posts are now Quick Scheduled
- Go into each post in your Calendar to add captions
- You can also change Instagram/TikTok notification posts to Auto Publish, if enabled
Note: Quick Schedule Instagram & TikTok posts can’t be defaulted to Auto Publish.
Tip: Save time by writing your captions in your Media Notes before scheduling. The text will be automatically copied to your post’s caption, so your content is ready to publish.
Changing Your Quick Schedule Time Slots
Need to add, remove, or change your Quick Schedule time slots? Here’s how:
Desktop
- Adding a time slot: Double-click on a new time slot in the Calendar.
- Removing a time slot: Hover over the time slot and click the x in the top right corner.
- Changing a time slot: Drag the time slot to a new slot in the Calendar.
iOS
- Adding, removing, or changing time slots: Go to Account > Quick Schedule Settings to manage your time slots.
Android
- Adding, removing, or changing time slots: Go to Account > Quick Schedule Settings to manage your time slots.
Important: If you add, remove, or change a time slot, the change will be made for all following weeks as well.
Plan Your Instagram Feed With Your Visual Instagram Planner
Visual Instagram Planner on Mobile
Find your Best Time to Post on Instagram

